
Using Gravel and Stone to Frame a Rural Border
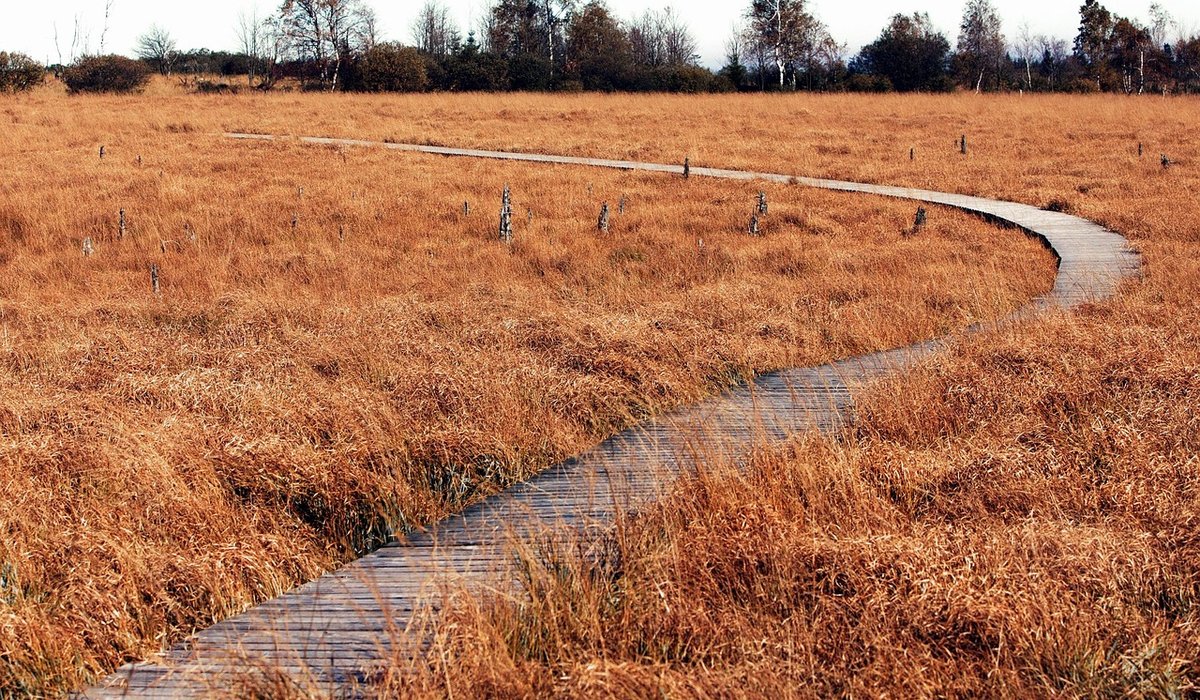
Why Stone Belongs in a Moorland Garden
Moorland and countryside gardens are rarely neat and level. They are shaped by weather, thin soil, and stone that pushes up through the ground. Instead of fighting those conditions, use local gravel and reclaimed stone to frame beds and paths. Stone gives structure without looking formal, and it works with the landscape rather than against it. A border edged in gritstone or limestone sits naturally beside heather, ferns, and hardy perennials. It also helps with drainage on heavy, wet ground, which is common on upland plots.
The key is to think of stone as a frame, not a barrier. It should guide the eye, separate gravel from soil, and hold a border in place through winter storms. Get that right and your garden will look settled, even when the weather is doing its worst.
Choosing Local Gravel and Reclaimed Stone
Start with what is already around you. Local gravel and reclaimed stone will always look more at home than imported, brightly coloured aggregates. They also tend to be cheaper and more sustainable, especially if you can collect them from a nearby salvage yard or a farmer clearing a field.
- 20mm gravel: A good all-rounder for paths, drives, and border tops. It knits together well and is easy to rake.
- 10mm pea gravel: Softer underfoot and ideal for small seating areas, but it can move about on slopes.
- Reclaimed setts or kerbs: Perfect for edging a border or creating a low retaining wall. They age beautifully.
- Flat stones and flags: Use them as stepping stones through gravel or as a mowing edge beside grass.
- Crushed stone or grit: Excellent for mulch around alpines, herbs, and heathers, as it keeps leaves dry and suppresses weeds.
Reclaimed stone has character that new stone lacks. Look for local gritstone, slate, or limestone with a weathered face. Avoid anything that crumbles easily, as it will not last through frost. If you are mixing stone types, keep the palette limited to two or three tones so the border still feels calm and connected.
Marking Out and Preparing the Border
Before you lay a single stone, mark the shape of the border with a garden hose or a length of rope. On moorland plots, curves usually look better than straight lines because they echo the contours of the land. Once you are happy, cut the edge with a half-moon spade or a sharp turf cutter. Remove the top layer of turf and keep it aside if you plan to use it elsewhere.
For a gravel-topped border, dig out about 75mm of soil and compact the base. If the ground is heavy clay, add a layer of coarse grit or small stones to improve drainage before you put anything back. For an edging stone, dig a shallow trench just wide enough to take the stone, and set it so roughly one-third is buried. This keeps it stable and stops it from being pushed up by frost.
Edging and Setting Stone
Set your edging stones on a bed of compacted grit or sand. Tap them down with a rubber mallet, and check the level regularly with a spirit level. A slight fall towards the border or path will help water run away rather than pool. Leave small gaps between stones for drainage and for insects to move through. In rural settings, dry stone edging looks far better than mortared edges, and it will move gently with the ground instead of cracking.
If you are building a low wall, keep it no higher than two or three courses unless you know how to build properly. Most garden walls fail because the base is too shallow or the stones are not overlapping. Take your time, and let the wall follow the land rather than forcing it level.
Gravel Surfaces and Drainage
Gravel is not just a pretty surface. It is a drainage layer that keeps soil from sitting wet around plant crowns. For a path or driveway, aim for a compacted subbase of about 100mm, then a top layer of 50mm of gravel. For a border mulch, 40mm to 50mm is plenty. Too little and weeds push through; too much and it smothers small plants.
Use a woven weed membrane under paths, but avoid it under borders where you want plants to self-seed. On slopes, consider a larger grade of gravel or add a timber or stone retaining edge to stop it washing downhill. In moorland gardens, rainfall can be intense, so always plan where the water will go before you finish the surface.
Planting Through Gravel and Stone
Plant before you spread the gravel, or cut a clean hole through it if you are adding later. Moorland-friendly choices include heather, thyme, sedum, hardy geraniums, ferns, and ornamental grasses. These plants cope with wind, cold, and free-draining conditions, and they look right against stone. Gravel mulch keeps their leaves dry and reduces the need for watering once they are established.
Keep gravel clear of plant stems and crowns. Piling it up against stems can trap moisture and cause rot. A small ring of bare soil around each plant is enough. As the border fills in, the stone will soften and become part of the planting rather than a hard edge.
Keeping It Looking Right
Top up gravel every year or two, especially after winter. Rake it back into place and remove leaves and moss before they break down into soil. Re-set any stones that frost has lifted, and check edging after heavy rain. Avoid pressure washing gravel, as it strips the fines that help it bind together. A stiff broom and a bit of patience are usually enough.
With a little care, gravel and reclaimed stone will give your rural border a natural, hard-wearing frame that suits the moorland around it. It is a practical choice, but it is also a beautiful one.

4 Comments